
How To
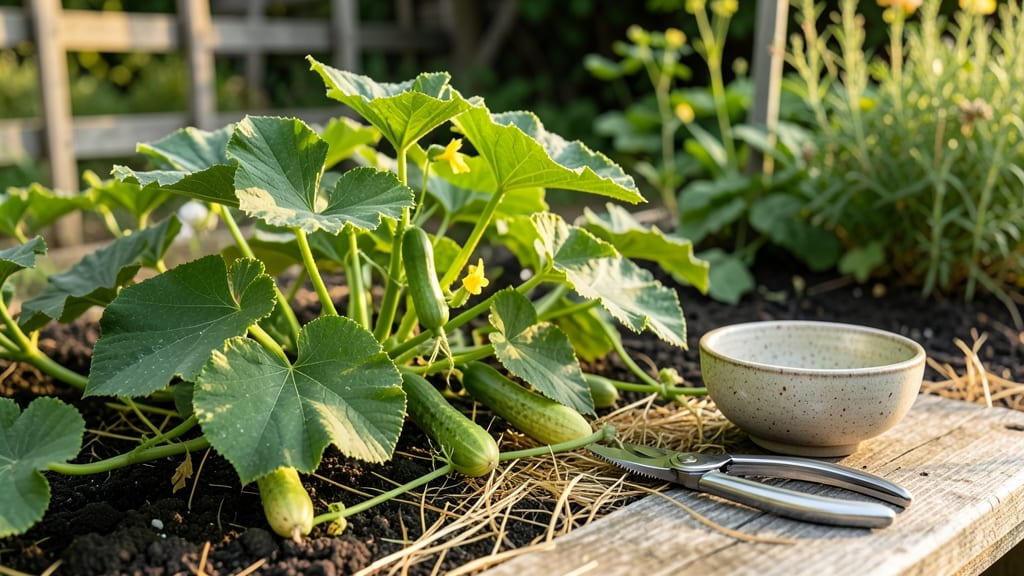
Harvesting cucumber seeds 🥒 from your garden is the easiest way to save heirloom varieties for next year—but most gardeners miss the two key steps that make the difference between viable seeds and a wasted harvest.
Picture this: you’ve spent all summer growing your favorite slicing cucumbers, only to find that the seeds you saved won’t germinate. That’s because seed harvesting isn’t just about picking a ripe fruit—it’s about timing the harvest, fermenting the pulp, and drying the seeds just right.
Skip any of these, and you’ll end up with moldy mess instead of next year’s garden staple.
In this guide, I’ll walk you through the simple, step-by-step process—from selecting the perfect cucumbers to drying and storing seeds that’ll sprout like clockwork.
Whether you’re a first-time seed saver or a seasoned gardener, these tips will ensure your cucumber seeds stay fresh and ready to plant for years to come.
You’ll learn how to spot the best cucumbers for seed saving, the fermentation trick that removes bad seeds, and the best drying methods to prevent mold. By the end, you’ll have a stash of seeds that’ll give you the same delicious, homegrown cucumbers you love—without buying new ones every season.
When and how to select the best cucumbers for seed harvesting
Selecting the right cucumbers for seed harvesting is the first critical step to preserving your favorite heirloom varieties. Timing matters—picking too early or too late can ruin your seeds.
Look for cucumbers that are fully mature but not overripe, as this ensures the seeds inside have completed their fertilization process and are ready for extraction.
One of the biggest mistakes gardeners make is harvesting seeds from hybrid varieties. These won’t reproduce true-to-type, meaning next year’s plants won’t match the parent’s traits.
Stick to open-pollinated or heirloom varieties, which guarantee consistent results. If you’re unsure, check the seed packet or plant tag for labels like "heirloom" or "open-pollinated."
Mature cucumbers for seed saving should show clear signs of overripeness. The skin will turn yellow or develop brown spots, and the flesh may soften significantly. The stem end will also turn yellow or brown, signaling the seeds are fully developed.
Avoid cucumbers with mold or rot, as these can contaminate your seeds.
Size matters too—harvest cucumbers that are larger than usual for your variety. For slicing types, aim for 8-12 inches long, while pickling cucumbers should be 3-5 inches long when overripe. Larger cucumbers contain more developed seeds, improving your chances of a successful harvest.
| Cucumber Type | Maturity Signs | Seed Quality | Best For |
|---|---|---|---|
| Heirloom Slicing | Yellow/brown stem end, soft skin, 8-12" long | High viability, true-to-type | Seed saving, home gardens |
| Heirloom Pickling | Yellow/brown stem end, 3-5" long, wrinkled skin | Good viability, true-to-type | Seed saving, fermentation |
| Hybrid (Avoid for Seeds) | Green stem end, firm skin, uniform size | Low viability, unpredictable traits | Market sales only |
| Overripe (Discard) | Moldy, mushy, rotting | Contaminated, poor viability | Compost only |
When harvesting cucumbers for seeds, cut them from the vine rather than twisting them off. This prevents damage to the plant and ensures you get the entire cucumber, including the stem end where seeds are most concentrated. Use clean, sharp pruners or scissors to avoid tearing the fruit.
If you’re unsure whether a cucumber is ready, cut it open to check the seeds. Fully mature seeds will be plump, firm, and dark-colored, while immature seeds will be flat, shriveled, or light-colored. Save only cucumbers with fully developed seeds to maximize your chances of successful germination next season.
Another pro tip: Harvest seeds from multiple plants to ensure genetic diversity. This helps prevent inbreeding depression, which can reduce vigor in future generations. Aim to collect seeds from at least 3-5 different plants of the same variety for the best results.
Finally, label your cucumbers immediately after harvest. Use a permanent marker to write the variety name and harvest date directly on the cucumber or a small tag tied to the stem. This prevents mix-ups later in the seed-saving process and helps you track which seeds came from which plants.
With these steps, you’ll be well on your way to harvesting high-quality cucumber seeds that will grow into thriving plants next season. Just remember: patience and attention to detail are key to successful seed saving! 🌱
Step-by-step cucumber seed extraction and drying process
Once you’ve selected your ripe cucumbers for seed saving, the real work begins—extracting and drying the seeds properly. This process ensures high germination rates and preserves the heirloom traits of your plants. I’ll walk you through each step, from scooping out the seeds to drying them correctly for long-term storage.
Start by cutting open the fully mature cucumbers (those with yellow or brown stem ends). Scoop out the gelatinous seed pulp into a clean bowl, being careful not to mix in any immature seeds that might still be green.
The pulp contains tiny seeds embedded in a sticky, fermenting medium—this is key to removing the seed coat naturally.
How to Extract and Dry Cucumber Seeds
- 1 Scoop and ferment: Place the seed pulp in a jar, cover loosely, and let it ferment for 3-5 days at 70-80°F (21-27°C). This breaks down the pulp, making it easier to rinse away.
- 2 Rinse seeds: Strain the mixture through a fine mesh sieve, then rinse the seeds under cool water until the water runs clear. This removes any remaining pulp or debris.
- 3 Dry with paper towels: Spread seeds on a paper towel in a single layer. Place in a warm, dry location (like a sunny windowsill) for 1-2 days, stirring occasionally to prevent clumping.
-
4
Mesh bag drying: For bulk drying, use a breathable mesh bag or screen. Hang it in a low-humidity area (like a basement with a dehumidifier) for 3-5 days
- 5 Test for dryness: Press a seed between your fingers—if it crushes easily and feels dry, it’s ready for storage. If it’s still damp, dry for 1-2 more days.
Drying conditions are critical for seed viability. Aim for a humidity level below 40% and a consistent temperature between 60-75°F (15-24°C). High humidity can cause mold, while excessive heat may reduce germination rates. A dehumidifier or silica gel packets can help maintain ideal conditions if your climate is damp.
Once fully dry, store seeds in paper envelopes or glass jars with a desiccant packet to absorb moisture. Label each with the variety name and harvest year—this prevents mix-ups and helps track performance over time.
With proper drying, your seeds can remain viable for 3-5 years, though germination rates drop after the first year.
Pro tip: If you notice mold or foul odors during fermentation, discard the batch and start fresh. This usually happens when the pulp sits too long or in high humidity. Always work with clean tools to avoid contamination.